Hey there! As a supplier of side-mounted motors, I often get asked about how to install these motors on a crane. It's a crucial process that can significantly impact the crane's performance, so I'm here to walk you through it step by step.
Why Choose Our Side-Mounted Motors?
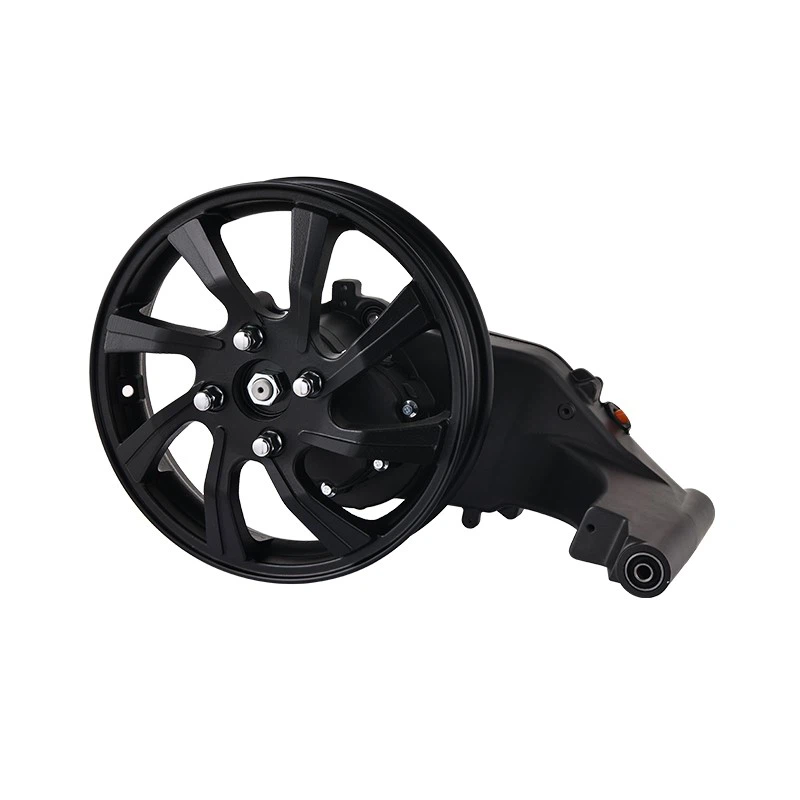
Before we dive into the installation process, let me quickly tell you why our side-mounted motors are a great choice for your crane. We offer a range of high-quality motors, like the ZD031 Electric Motor Single Side Mounted Motor, the ZD-01 High-speed Motorcycle Side-mounted Motor, and the ZD038 High-power High-speed Electric Motor Single-side Side-mounted Motor. These motors are designed to provide reliable and efficient power, ensuring that your crane operates smoothly and safely.
Tools and Materials You'll Need
First things first, gather all the necessary tools and materials. You'll need a set of wrenches, a socket set, a torque wrench, a level, a drill, and some safety equipment like gloves and goggles. Make sure you have the right bolts, nuts, and washers for the motor installation. It's also a good idea to have a copy of the motor's installation manual handy.
Pre-Installation Checks
Before you start installing the motor, it's important to do some pre-installation checks. Check the crane's mounting surface to make sure it's clean, flat, and free of any debris or damage. Measure the mounting holes on the crane to ensure they match the motor's mounting pattern. Inspect the motor for any visible damage or defects. If you notice anything wrong, contact our support team right away.
Step 1: Position the Motor
Carefully lift the motor and position it on the crane's mounting surface. Use a level to make sure the motor is perfectly horizontal. This is crucial for the motor's proper operation and to prevent any unnecessary stress on the motor and the crane.

Step 2: Align the Mounting Holes
Once the motor is in position, align the mounting holes on the motor with the holes on the crane. This can be a bit tricky, so take your time and make sure the alignment is accurate. You may need to use a drift pin or a small punch to help align the holes.
Step 3: Insert the Bolts
Insert the bolts through the mounting holes in the motor and the crane. Make sure to use the correct size and type of bolts as specified in the motor's installation manual. Don't fully tighten the bolts yet; just hand-tighten them for now.
Step 4: Check the Alignment Again
After inserting the bolts, double-check the alignment of the motor. Use a straightedge or a laser alignment tool to ensure that the motor is properly aligned with the crane's drive shaft. If the alignment is off, adjust the motor's position slightly and re-align the holes.
Step 5: Tighten the Bolts
Once you're satisfied with the alignment, use a torque wrench to tighten the bolts to the specified torque value. Over-tightening the bolts can damage the motor or the crane, while under-tightening can cause the motor to vibrate or come loose during operation. Follow the torque specifications carefully.
Step 6: Connect the Electrical Wires
Next, it's time to connect the electrical wires. Make sure the power is turned off before you start working on the electrical connections. Follow the wiring diagram in the motor's installation manual to connect the wires correctly. Use wire connectors or soldering to ensure a secure connection. Insulate the connections with electrical tape to prevent any short circuits.
Step 7: Test the Motor
After connecting the electrical wires, turn on the power and test the motor. Listen for any unusual noises or vibrations. Check the motor's rotation direction to make sure it's correct. If you notice any problems, turn off the power immediately and check the connections and the alignment again.
Step 8: Final Checks
Once the motor is running smoothly, do a final check of all the connections and bolts. Make sure everything is tight and secure. Inspect the motor and the crane for any signs of damage or wear. If everything looks good, you're all set!
Troubleshooting Tips
If you encounter any problems during the installation process or after the motor is installed, here are some troubleshooting tips:
- If the motor doesn't start, check the electrical connections to make sure they're secure and that the power supply is working.
- If the motor is making a lot of noise or vibrating, check the alignment and the tightness of the bolts.
- If the motor is overheating, check the ventilation and make sure there's no blockage around the motor.
Conclusion
Installing a side-mounted motor on a crane may seem like a daunting task, but if you follow these steps and take your time, it can be a relatively straightforward process. Our side-mounted motors are designed to be easy to install and reliable in operation. If you have any questions or need further assistance, don't hesitate to reach out to us.
We're always here to help you get the most out of our products. Whether you're a small business owner or a large industrial company, we can provide you with the right side-mounted motor for your crane. If you're interested in purchasing our side-mounted motors or have any inquiries about our products, feel free to contact us for a procurement discussion. We'll be happy to work with you to find the best solution for your needs.
References
- Crane Installation Manuals
- Side-Mounted Motor Installation Guides