

Hey there, fellow motor enthusiasts! I'm [Your Name], and I run a side-mounted motors supply business. We've been in the game for quite some time, and I've seen my fair share of motor issues, especially when it comes to bearing problems. In this blog, I'm gonna walk you through the process of replacing the bearings in side-mounted motors.
First off, why would you even need to replace the bearings in your side-mounted motor? Well, bearings play a crucial role in the smooth operation of the motor. Over time, they can wear out due to constant friction, heat, and the load they carry. When bearings start to go bad, you might notice some telltale signs like strange noises, increased vibration, or even a decrease in motor performance. Ignoring these issues can lead to more serious problems down the line, like motor failure.
Before we dive into the replacement process, let's talk about the tools and parts you'll need. You'll need a set of basic hand tools, including wrenches, sockets, and a hammer. You'll also need a bearing puller, which is a specialized tool used to remove the old bearings. As for the new bearings, make sure you get the right size and type for your specific motor. We offer a wide range of high-quality bearings that are compatible with our ZD-01 High-speed Motorcycle Side-mounted Motor, ZD022 Electric Motor Single Side Mounted Motor, and ZD037 Electric Motor Single Side Mounted Motor.
Now, let's get started with the replacement process. The first step is to disconnect the motor from the power source. This is super important to avoid any electrical hazards. Once the motor is disconnected, remove the motor cover to access the bearings. You might need to use a wrench or a socket to remove the bolts holding the cover in place.
Next, use the bearing puller to remove the old bearings. This can be a bit tricky, especially if the bearings are tightly fitted. Make sure you follow the instructions that come with the bearing puller to avoid damaging the motor. Once the old bearings are removed, clean the bearing housing thoroughly to remove any dirt, debris, or old lubricant.
Now it's time to install the new bearings. Before you do that, make sure you lubricate the bearings with a high-quality lubricant. This will help reduce friction and extend the life of the bearings. Carefully place the new bearings into the bearing housing, making sure they are properly aligned. You might need to use a hammer and a block of wood to gently tap the bearings into place.
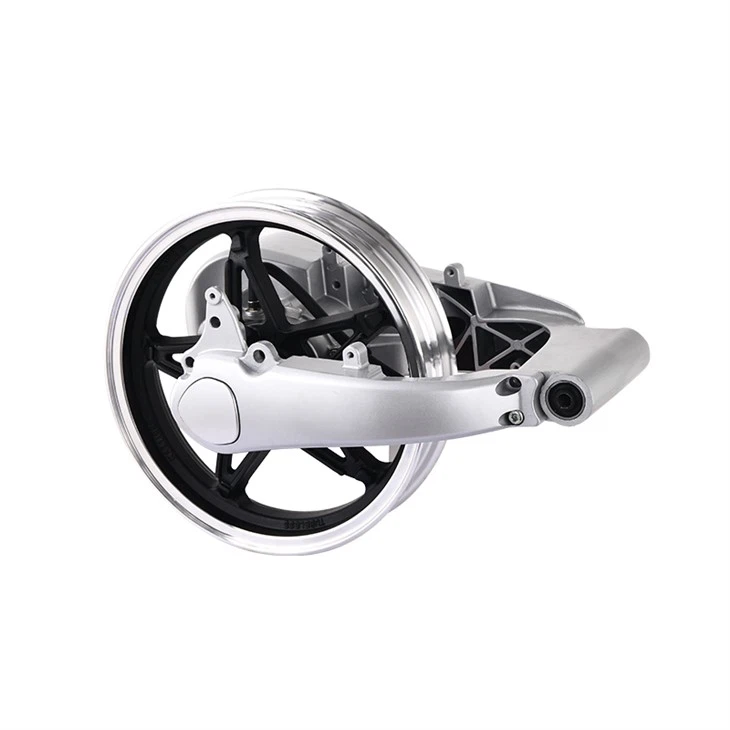

Once the new bearings are installed, reassemble the motor. Put the motor cover back on and tighten the bolts securely. Make sure all the connections are tight and there are no loose parts. Finally, reconnect the motor to the power source and test it to make sure it's working properly.
If you're not comfortable doing the bearing replacement yourself, don't worry. We offer professional installation services for all our side-mounted motors. Our team of experienced technicians can replace the bearings quickly and efficiently, ensuring that your motor is back up and running in no time.
In conclusion, replacing the bearings in side-mounted motors is a relatively straightforward process, but it does require some basic tools and knowledge. By following the steps outlined in this blog, you can save yourself time and money by doing the replacement yourself. And if you need any help or have any questions, don't hesitate to reach out to us. We're here to help you keep your side-mounted motors running smoothly.
If you're interested in purchasing side-mounted motors or replacement bearings, or if you have any questions about our products or services, feel free to contact us. We'd love to hear from you and help you find the right solutions for your needs.
References:
- "Motor Maintenance and Repair Handbook" by William C. Crouse
- "Electric Motor Handbook" by Arnold H. Rosenfeld